How To Guide
Opening the Organic Torah Dashboard
In the balck footer, at the bottom of your site, you will find the phrase WordPress Login. Click the word Login. When the login screen opens, enter your username and password, and Voila! your WordPress dashboard opens.
Creating a New Post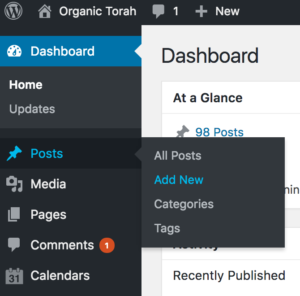
In the leftmost black dashboard go to Posts > Add New. Or on the top of the page, in the black area, go to New > Post. A new blank post will open. You can start typing your text into the post. The most important task after opening a new post is to assign a Category, see below.
Add Categories to a Post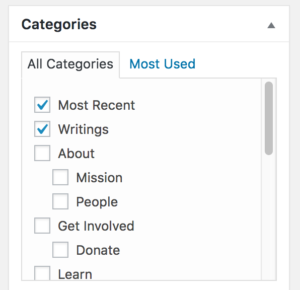
The content of your site is organized by Categories. Upon publishing the new post, it is automatically assigned the Uncategorized category. If Uncategorized is checked, your first step is to uncheck this Uncategorized category. Next, decide where you want the post to appear in the site, and check the categories that apply. If you want your post to remain in draft mode, check the Draft category.
Add a Featured Image to Post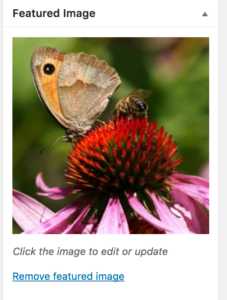
To keep the site lively and engaging, this site features vivid photography. A default image will be assigned to your post if you do not choose a featured image. We recommend downloading appropriate images from Pixabay. This site features high quality, free images. Download a medium size image from Pixabay to your computer. Next, go to Featured Image > Upload Image. The Featured Image section is on the lower right corner of the dashboard. Make sure NOT to use the Add Media button — this is not the best way to add an image for this site.
Publishing Your Post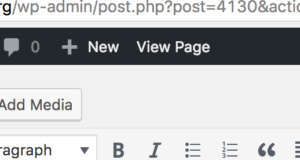
When you have finished adding categories, a featured image, and your text, press the Publish button on the right dashboard. This button becomes the Update button once the post is published. Go to View Page in the top of the site to review your work.
Editing an Existing Post or Page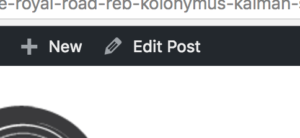
When viewing your post, you will find an Edit Post link at top of the page.
Publishing a Post to Facebook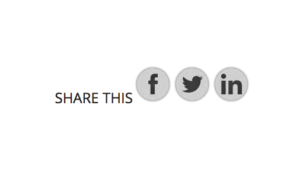
You can publish your work to Facebook with the Share button. Once you publish the post, go to View Post. You will find these buttons at the bottom of each post. If this button is missing — email me — occasionally it needs to be reloaded.
Pushing a Post to the Top of the Category List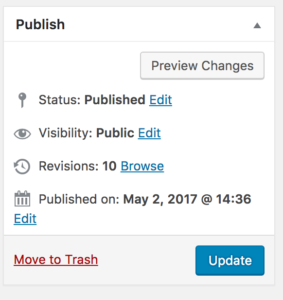
The lists of posts on your site are organized by date. To change the location of a post relative to other posts, change the published date. Most recent posts appear first. The published date is above the Update button on the right side of the dashboard. Edit the published date and then press the Update button to save your changes.
Editing Sidebar Items 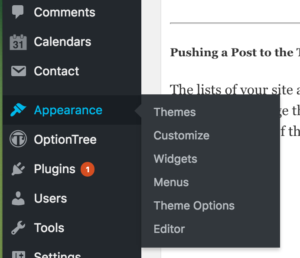
On the left dashboard, go to Appearance > Widgets. Each sidebar has a name similar to the page or post on which it resides. For example, the Contact Page uses a sidebar named Contact. Basic content can be edited here. To edit the lists in the sidebar, please email us.
